Paint that looks smooth and lasts for years begins long before the first stroke of a brush. It starts with taking off what should not be there—the brittle, flaking, or glossy layers that block fresh coating from gripping. Skipping this step can trap moisture, hide cracks, and lead to peeling in a single season. Think of removal as clearing the runway before takeoff: the plane only flies if the surface is safe. It helps new paint stick better, reveals repairs you actually need, and cuts the risk of early peeling. When you strip back to a sound base, you control the finish instead of hoping the old surface behaves. That’s the quiet secret behind work that looks clean on day one and still looks clean years later.
Old Paint Hides Issues
Layers build up over time. A wall might carry six or more coats, with hairline cracks and filler ridges buried between them. Thick build can reach 12–20 mils (0.3–0.5 mm) and create “telegraphing,” where every old ripple shows through the new color. Removal exposes the truth so you can fix it.
- Spot rotten trim or loose drywall seams
- Find failed caulk and open joints
- See where stains will bleed back
Once stripped, you can sand joints flat, re-caulk moving gaps, and replace soft wood rather than painting over it. On exteriors, clearing loose paint also stops water from sneaking behind shingles or trim and swelling the wood. Indoors, it prevents shadows and texture lines that make fresh paint look tired on day two.
Adhesion Starts at Zero
Paint bonds best to clean, dull, and dry material. Old, glossy enamel has low surface energy; new coatings slide instead of biting. Removing old layers gives you “zero history” and a profile that the next coat can grip. For metals, many specs call for a 1.5–3.0 mil (38–75 micron) anchor profile; for wood, even a light tooth from sanding makes a big difference.
- Aim for a matte, uniform surface.
- Wipe dust before priming.
- Match primer to the substrate.
Primer film builds are typically 1–2 mils dry film thickness (DFT), and many exterior acrylic topcoats target 2–3 mils DFT per coat. Without removal, those numbers are guesswork. With removal, you can measure and hit them. That’s how you get a bond that resists peeling through freeze-thaw cycles and sun.
Smoothness You Can Feel
A smooth finish is not only about looks; it also sheds dirt and is easier to wash. Scraping alone leaves ridges. Proper removal followed by sanding blends edges and levels patches so light glides over the surface without showing steps between old and new areas.
- Feather edges to zero thickness
- Use long, even sanding strokes
- Backlight walls to spot highs and lows
On trim, sandpaper grits often progress 80 → 120 → 180 before primer. On walls, 120–150 is a sweet spot before you roll. Measure with your hand: if you can feel a ridge with your fingertips, you will see it after painting. Taking the extra pass now saves you two coats later trying to hide texture that never should have been left behind.
Moisture and pH Checks
Moisture is the silent spoiler. Wood should be at or below about 12–15% moisture content before priming. New concrete can run a pH of 9–13; many coatings require a pH ≤ 10 to avoid alkali burn. Removal lets you test the base material and dry it, instead of sealing in a problem you cannot see.
- Use a pin meter on wood trim
- Do a pH test on fresh masonry
- Keep surfaces 3°C (5°F) above dew point
If there’s hidden damp, paint may blister within weeks. Where pH is high, color can fade or spot. After removal, you can spot-prime stains with shellac or alkyd, then move to a compatible acrylic system. That sequence blocks tannin bleed and rust while giving you a consistent foundation for even color.
Safer Homes, Safer Crews
Homes built before 1978 may have lead-based layers. When you remove old paint, you should plan for safe methods. Wet scraping, local vacuum sanding with HEPA filtration, and careful cleanup reduce dust. Even when lead is not present, fine dust can irritate lungs and settle in vents and carpets.
- Test suspect areas before work.
- Use HEPA vacuums on sanders.
- Bag and label debris properly
Containment protects families, pets, and neighbors. A tidy site also makes better work: no debris under drop cloths, no grit tracked onto fresh coats. Good removal means safe removal; both support a finish that looks good and helps everyone breathe easier once the project is done.
Tools That Do It Right
Different surfaces call for different tools. Heat plates soften thick layers for safe scraping. Chemical strippers work on carved trim where sanders can’t reach. Random-orbit sanders level broad flats. On steel, needle scalers or blasting (where suitable) can create that needed anchor profile. The point is to choose with purpose, not habit.
- Match the tool to the surface.
- Keep blades sharp and pads clean.
- Vacuum while you work to see progress
A typical approach: scrape loose material, use a stripper for stubborn spots, sand to unify, then vacuum and tack wipe. Fresh abrasives cut cooler and faster, reducing swirl marks. When you can read wood grain or see a dull, even tooth on metal, you know you’ve prepped for a durable primer bond.
Time, Cost, and Value
Removal adds hours up front, but it saves days later. Industry pros often say surface prep is 60–70% of a successful job. That effort reduces callbacks for peeling, blistering, or flashing. It also cuts extra coats: a sound, uniform base often covers in two finish coats instead of three or four.
- Fewer coats mean less paint used.
- Fewer failures mean fewer repairs.
- Smooth starts mean faster final coats.
Consider numbers: if a gallon covers 350–400 sq ft per coat, skipping one coat on a 1,200 sq ft interior saves three to four gallons. Multiply by primer and finish, and the math favors proper removal. Value is not only price; it’s how long the work looks fresh before you schedule the next project.
Weather and Timing Rules
Even perfect removal can’t fix bad timing. Temperature, humidity, and airflow matter. Most acrylics like 10–32°C (50–90°F). Avoid direct sun that heats surfaces far above the air temperature. Keep an eye on dew point: if the surface cools to within 3°C (5°F) of it, moisture can form and block adhesion.
- Paint when shade and temps align
- Watch the wind that drives dust onto wet paint
- Allow recoat times per label
Flash rust on bare steel can appear within an hour in humid air; priming soon after prep prevents it. Wood fibers “raise” after sanding; a quick scuff after primer knocks them down for a silky feel. Schedule around showers and evening dampness, and your carefully prepared surface will reward you with a calm, even finish.
Ready for the Finish
Good removal is quite a success. It turns guesswork into a plan: clean base, checked moisture, correct profile, matched primer, and steady conditions. That plan gives you a finish that lies flat, keeps its color, and holds tight through heat, cold, and rain.
- Start clean for a better grip.
- Fix problems before color.
- Let conditions work for you.
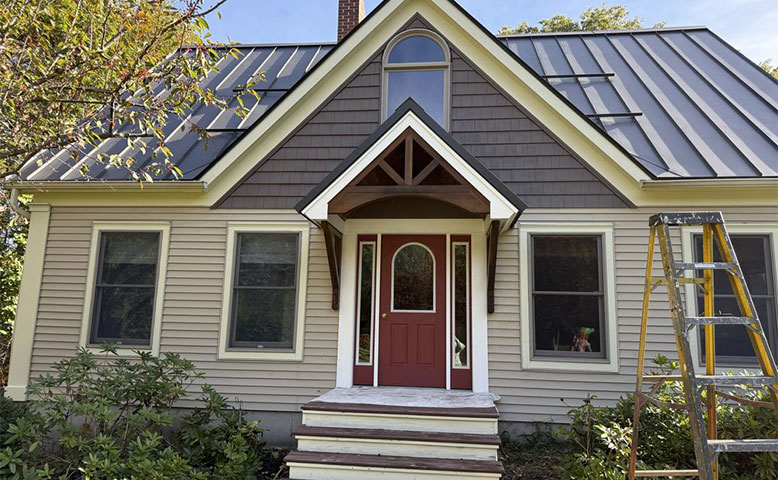
If you want help making these steps simple and stress-free, reach out to a team that takes prep seriously and treats your home with care. For a smooth, long-lasting finish, talk with Norton’s Tru-Coat Painting.